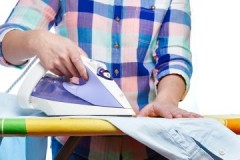
 There is hardly a woman in the world for whom ironing men's shirts is a favorite pastime.
This is especially true for young housewives who have just plunged into the world of everyday “pleasures”.
However, if you study the intricacies and secrets of this process, then ironing may become, if not more pleasant, but certainly more efficient and faster.
Read about how to iron a men's or women's shirt correctly in the article.
Content
How to start ironing a shirt?
In order to spend the minimum amount of time ironing one shirt, you need to prepare in advance all the necessary "tools", which include:
 Iron and ironing board.
- A container with water, a household spray (these tools will come in handy if the iron does not have a steaming function).
- A gauze cloth or a piece of cotton fabric (in principle, you can do without additional fabric, but only if you are sure that the surface of the iron does not leave marks on the clothes).
To achieve a perfectly clean iron surface, it must be washed regularly using special products that are purchased at hardware stores.
For some surfaces, folk remedies will also be effective, which will certainly be found at home for every housewife: salt, paraffin candles, vinegar, hydrogen peroxide, etc.
What mode to iron?
The temperature of the iron depends on the fabric of the shirt. To find out about all its features, you should carefully study the label of the shirt, usually it contains all the necessary information for caring for the product, as well as the composition of the fabric.
Permissible temperatures for different fabrics (C):
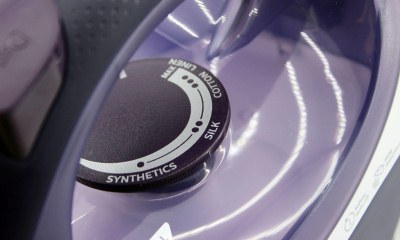 cotton: 140-160;
- silk: 60-70;
- cotton + polyester: 100-110;
- polyester: 60-80;
- acrylic: 70-100;
- viscose: 100-120;
- wool: 100-120;
- linen: 170-190.
All modern irons are equipped with a temperature sensor, have instructions for determining the heating temperature.
In older models, the modes "one point", "two points", "three points" are used to determine the temperature:
- one point - temperatures up to 110 degrees;
- two points - temperature up to 150 degrees;
- three dots - temperature up to 200 degrees.
Can I iron a wet item?
Before you start ironing your shirt, you need to prepare it for this process. First of all, the shirt must be clean, that is, pre-washed, and dried.
 Do not iron things that have been worn at least once... Even if there is no visible dirt on it, the shirt will not look fresh after ironing.
You cannot iron a wet product, but it is also important not to allow the opposite: so that the fabric is too dry.
Ideal if the fabric is slightly damp, that is, when you click on it, moisture will not be released. During washing, it is advisable to turn on the "no folds" mode, this will greatly simplify further work.
If a mistake is made and the shirt is dry, it can be easily corrected with plain clean water and a spray bottle.
Ironing process
Experienced housewives have brought the process of ironing shirts to automatism, but beginners will have to get a little trick.
To simplify the work, we divide the product into the appropriate zones:
- collar,
- cuffs,
- buttons,
- sleeves,
- back,
- front side.
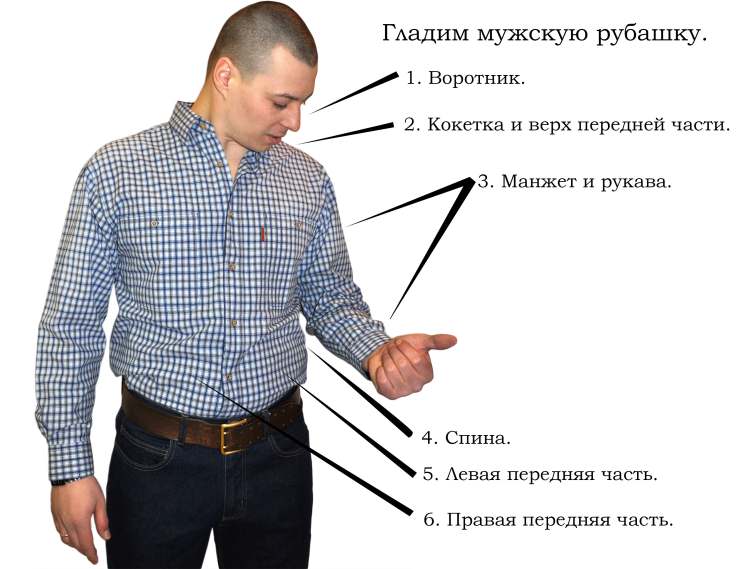
There is no single algorithm that is universal for everyone, however, as a rule, ironing should be started with small elements.
Collar
Start the ironing process from the collar area... When ironing this area, it is recommended to turn on the steam mode on the iron.
If there is no such mode, we will use water, which was prepared in advance and with a spray bottle. We try not to stretch the collar fabric, but to keep it in place in an even position.
First, we iron the collar zone from the seamy side, then from the front... Give the collar the desired shape and iron it again.
Button area
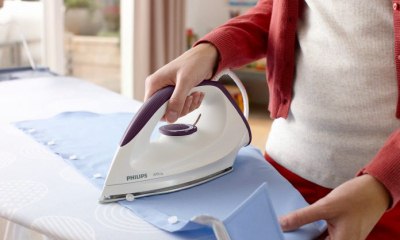 Gently iron between the buttons with the "nose" of the iron. The iron should point towards the sleeve.
Iron the button area on one side and on the other.
Avoid getting the iron on the buttons, which, upon contact with a hot sole, can pay a price and damage the fabric.
Cuff
We iron the cuffs not when folded, but after unrolling them. First we iron the cuff strap, and then the cuff itself, gradually "rolling" it.
We iron the cuffs from the inside, and then from the front... Carefully but thoroughly iron all the grooves on the cuffs.
Sleeves
Iron the sleeve to the stitching seam, slightly touching it. If you have an oversleeve in your arsenal (a special device for an ironing board that imitates the shape of a sleeve), then it is most convenient to use it. If not, it's okay.
Shirt back
This is the main and largest part of the product.... Mentally divide the back of the shirt into three parts (middle and side parts) and iron them in turn, gradually moving the shirt.
It is important not to touch the collar and sleeves of the shirt, which we have already ironed before.
Front side
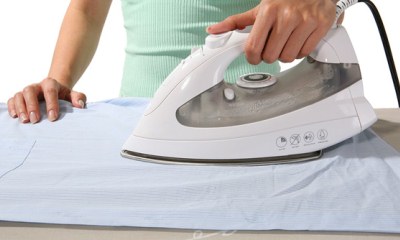 Moving on to the front side of the shirt - the hem of the shirt with buttons. It consists of two parts - the right side and the left side. We try to prevent micro-folds from forming under the iron.
Ironing the front side to the yoke, collar and sleeve... Once again we go through the iron under the collar. We pay special attention to the flaps of the pockets on the front side (if any).
If you iron the shirt according to this algorithm, then at the end of ironing it will look perfect. You just need to fold the shirt correctly or hang it on a hanger.
We fasten the buttons of the shirt by placing it on the ironing board. At this stage, we can eliminate the existing shortcomings: iron out small details or creasesthat formed during ironing.
The GQ Style Video Encyclopedia will tell you how to iron a shirt:
How to avoid arrows?
The simplest way is to iron the shirt without the arrows using an ironing board sleeve.
In addition, you can iron a shirt without arrows using a steamer. You can read more about how to iron a shirt without folds. here.
Ironing long and short sleeve shirts
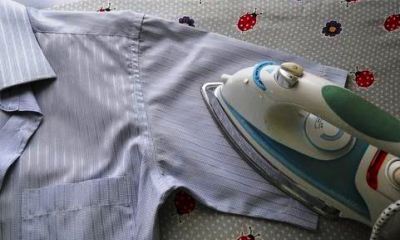 Let's start with two main types of models shirts:
- with long sleeve,
- short sleeves.
Of course, ironing a shirt with a short sleeve is much easier, just follow the algorithm described above.
If the sleeve of such a shirt is wide, it can be pulled over the corner of the ironing board and ironed on both sides.
How does the process differ depending on the fabric?
It is much easier to iron a synthetic shirt, if only because such fabric is less prone to creases. But with a cotton one you will have to suffer, but this drawback is completely paid off by the advantages of such a shirt: cotton is a durable and breathable material that is much more pleasant to wear than synthetics.
The shirt should be slightly damp before ironing. The temperature of the iron should not be higher than 160 degrees. If the item is dry, you can correct the situation by ironing it through damp gauze. More about ironing cotton shirts - here.
If there is no iron
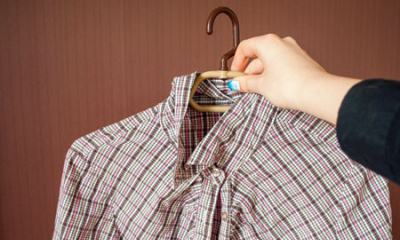 If you are away from home and do not have the opportunity to use the iron, but you need to look your best you can use an old but effective secret.
To do this, the product must be placed as evenly and accurately as possible on a hanger and hung vertically in the bathroom while you are taking a shower.
The steam will straighten the fabric and all that remains is to dry the shirt at room temperature.
Learn more about other ways to iron a shirt without an iron. here.
Alternatives
For most housewives, ironing is associated exclusively with an iron, which is in every family.
These alternatives include:
- steamers,
- steam generators,
- mannequins for ironing.
Steamer
One such alternative is a steamer. A high-quality steamer will cost at least 15 tr., Simpler models can be purchased for 10 tr. A manual steamer can be purchased for a more modest amount - from 2 tr.
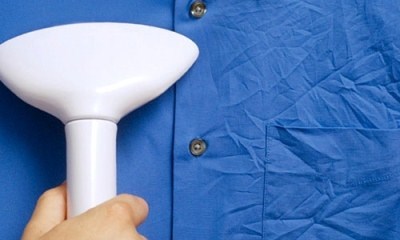 Its advantages include:
- more gentle effect on tissue;
- high speed of ironing things;
- can disinfect things with steam;
- it is impossible to burn through or damage the thing with a steamer.
Disadvantages of a steamer:
- high price;
- sufficiently large size of the device (if it is not a manual version);
- in any case, you will have to iron the small details of the shirt with an iron: collar, cuffs.
Steam generator
Another alternative to hand ironing is a home steam generator. The price for them varies from 5 to 40 tr. (depending on the brand and model power).
The advantages of a steam generator include:
- you can quickly and efficiently iron thick fabrics and even folded products;
- ironing with such a device is quick and efficient thanks to the large amount of steam;
- fabrics retain their original appearance longer.
Steam generator disadvantages:
- you need a place to store it;
- the device is quite noisy;
- steam generators are not wireless.
Dummy
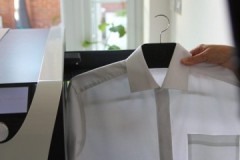
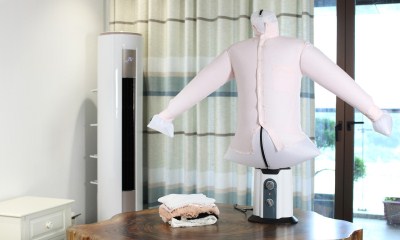 The most expensive alternative to an iron is an ironing mannequin.
A household appliance costs at least 70 tr., and the price for a professional model reaches 200 thousand rubles.
You can iron a shirt very quickly on such a device, however, due to the high cost and large size of the device, this is not the most popular "substitute" for an iron.
Read about special machines for ironing shirts in this article.
How much does home delivery service cost?
For single men and housewives who don't have time to iron their shirts a paid ironing service was invented... You can give shirts and other linen to a cleaning company or invite your “wife for an hour” to your house.
The cost depends on the location of the agency (in the capital and big cities, services are more expensive) and the complexity of the work (the fabric from which the product is made).
We buy wrinkle-free products
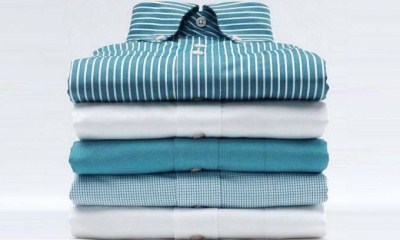 Ideal for those who absolutely do not want to waste time ironing - to purchase products that do not require one at all.
Such models are presented in the following brands:
- Marks & Spencer,
- Levis,
- Boss,
- others.
Most often, cotton is used to make such shirts, but the model is sewn in such a way that all the bruises on the fabric look stylish and appropriate.
You can also purchase a shirt that does not require ironing, made of synthetics ("wrinkled" shirts), but such a product is unlikely to be comfortable to wear.
Learn more about shirts that do not require ironing. here.
Conclusion
To iron quickly, easily and flawlessly - fantasy or reality? Of course the reality! You just have to adhere to the correct ironing algorithm and use all the secrets that can simplify this difficult task.
